Zones

Durotar

Finish the Valley before Razor Hill, split the Echo Isles from Tiragarde Keep, and leave Dark Storms and Skull Rock for a prepared return.

Buff My Pet Editorial
Classic Hardcore · safety route

Quest safety dossier

The annotated Classic map shows approximate quest-risk locations and safe anchors. Callouts show our conservative verdict, safety level, and first risk. The checklist carries the full failure state and exit call.

Swipe or scroll sideways to inspect the full map.

Map guidance

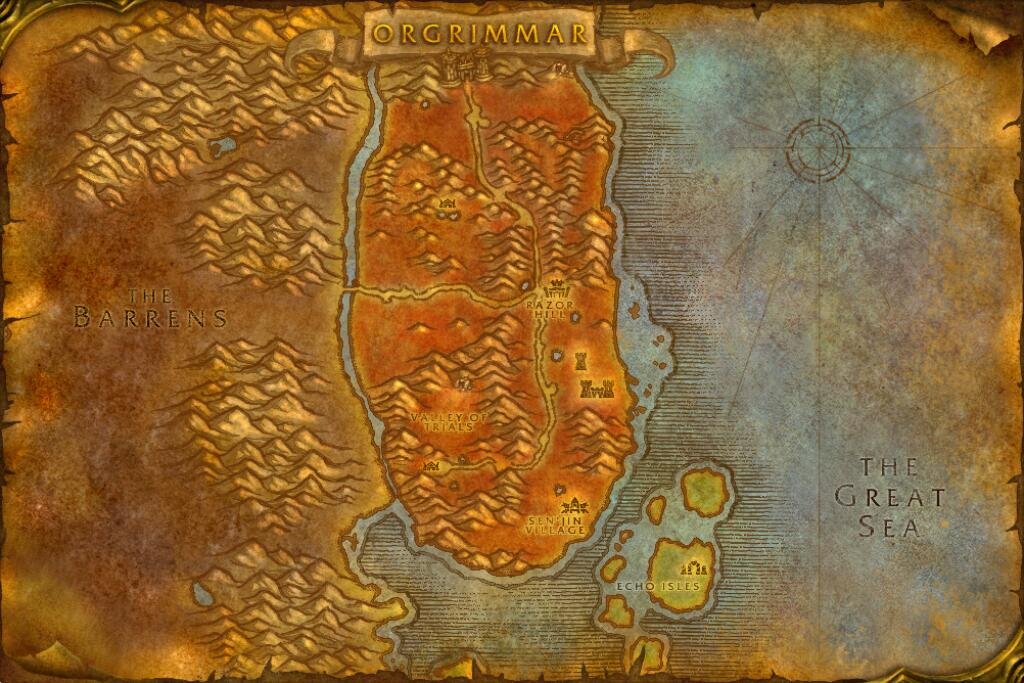
The Classic zone map is decorative. Numbered markers match the cards below; every card names its explicitly reviewed map anchor and approximate relative position.

Map anchors
  • Orgrimmar Gate (safe hub)
  • Razor Hill (safe hub)
  • Valley of Trials (safe hub)
  • Burning Blade Coven (cave)
  • Tiragarde Keep (danger area)
  • Sen'jin Village (safe hub)
  • Echo Isles (danger area)
  • Razormane Grounds (danger area)
  • Drygulch Ravine (cave)
  • Thunder Ridge (danger area)
  • Skull Rock (cave)
  • Barrens Gate (road gate)

Annotated Classic zone map. Quest callouts give a short checkpoint label, verdict, safety level, and first listed risk; +N means the card lists more risks. Marker positions identify approximate quest-risk areas, not exact spawn points. Connection relationships are not drawn as navigation lines. Finish the Valley before Razor Hill. Treat Tiragarde Keep, the Echo Isles, the Razormane camps, Drygulch Ravine, Fizzle Darkstorm, and Skull Rock as separate trips. Checkpoint markers are approximate risk areas, not exact spawns or safe paths. Confirm exact navigation in game. Numbered markers match the ordered checklist below.

  • Do now
  • Return later
  • Bring a group
  • Skip
  1. Checkpoint 1

    6+ · Horde

    Burning Blade Coven

    Return later
    Risk
    CaveRespawn
    Map position
    Near Burning Blade Coven · marker 1 at approximately 40% from the left and 58% from the top
    Failure state
    A familiar respawns behind you while Yarrog or the pick chamber still holds the route forward.
    Exit call
    Turn for the cave mouth as soon as the last cleared bend stops being empty.
    Back to map
  2. Checkpoint 2

    9+ · Horde

    Tiragarde Keep

    Return later
    Risk
    Dense campRespawn
    Map position
    Near Tiragarde Keep · marker 2 at approximately 64% from the left and 60% from the top
    Failure state
    A sailor or marine joins inside the keep while Lieutenant Benedict still controls the stair.
    Exit call
    Clear from the outer wall inward. Leave the building when the stair or doorway stops being a single-pull lane.
    Back to map
  3. Checkpoint 3

    10+ · Horde

    Minshina and Zalazane

    Bring a group
    Risk
    Dense campRespawn
    Map position
    Near Echo Isles · marker 3 at approximately 72% from the left and 84% from the top
    Failure state
    A Voodoo Troll heals through the named pull while another Hexed Troll closes the beach exit.
    Exit call
    Bring a group, clear the circle edge first, and retreat to the beach on the first healer or extra.
    Back to map
  4. Checkpoint 4

    10+ · Horde

    Encroachment

    Do now
    Quest
    Encroachment
    Risk
    Dense campRunners
    Map position
    Near Razormane Grounds · marker 4 at approximately 43% from the left and 36% from the top
    Failure state
    A low-health quilboar runs deeper into the brambles while another camp closes the road side.
    Exit call
    Work the outer camp edge and reset toward Razor Hill instead of following a runner through the thorns.
    Back to map
  5. Checkpoint 5

    11+ · Horde

    Drygulch supplies and harpies

    Return later
    Risk
    Dense campRespawn
    Map position
    Near Drygulch Ravine · marker 5 at approximately 57% from the left and 30% from the top
    Failure state
    A Storm Witch begins another cast while a Savage or ravine respawn occupies the return lane.
    Exit call
    Take the supply sacks first. Return for the kill step only when the ravine mouth and last cleared bend stay open.
    Back to map
  6. Checkpoint 6

    12+ · Horde

    Dark Storms

    Bring a group
    Quest
    Dark Storms
    Risk
    Dense campRespawn
    Map position
    Near Thunder Ridge · marker 6 at approximately 37% from the left and 23% from the top
    Failure state
    Fizzle drains or casts while his imp or another Burning Blade cultist joins the fight.
    Exit call
    Bring a group and clear a southern retreat first. Leave before tagging Fizzle if his camp will not separate.
    Back to map
  7. Checkpoint 7

    12+ · Horde

    Skull Rock and Hidden Enemies

    Skip
    Risk
    CaveDense camp
    Map position
    Near Skull Rock · marker 7 at approximately 60% from the left and 13% from the top
    Failure state
    A Burning Blade caster or lieutenant adds after the cave bends remove sight of the entrance.
    Exit call
    Skip the cave on a solo starting-zone pass. If a later group loses the cleared entrance lane, turn out immediately.
    Back to map
Before this route

Prepare the failure states

Read the lessons that match this map's terrain, group pressure, travel, and reset risks.

Levels 1-10

Finish the Valley of Trials before moving to Razor Hill. Durotar's open road is forgiving, but its caves, ravines, island camps, and keep interiors remove the retreat quickly.

Split the south into separate trips

Vanquish the Betrayers belongs to the keep. Minshina's Skull and Zalazane belong to the Echo Isles. Do not carry a damaged return or missing cooldowns from one pocket into the other.

Stop before the late caves

Dark Storms is a caster camp inside cave-like terrain. Hidden Enemies sends you into Skull Rock, one of the best-known low-level Hardcore death pockets. Neither quest needs to close a solo 1-10 route.

Where next

Continue to the Barrens after level 10. Take the western road with repaired gear, empty bag space, and the next class training already handled.
Related articles
Last updated