Zones
Open a safety map before the risky quest, then use the zone notes for the terrain and exits around it.
Starting zones, levels 1–10
Open the map before the cave, named target, or dense camp. Each board ends with the handoff toward the next leveling zone.
-
 Your routeAnnotated safety map
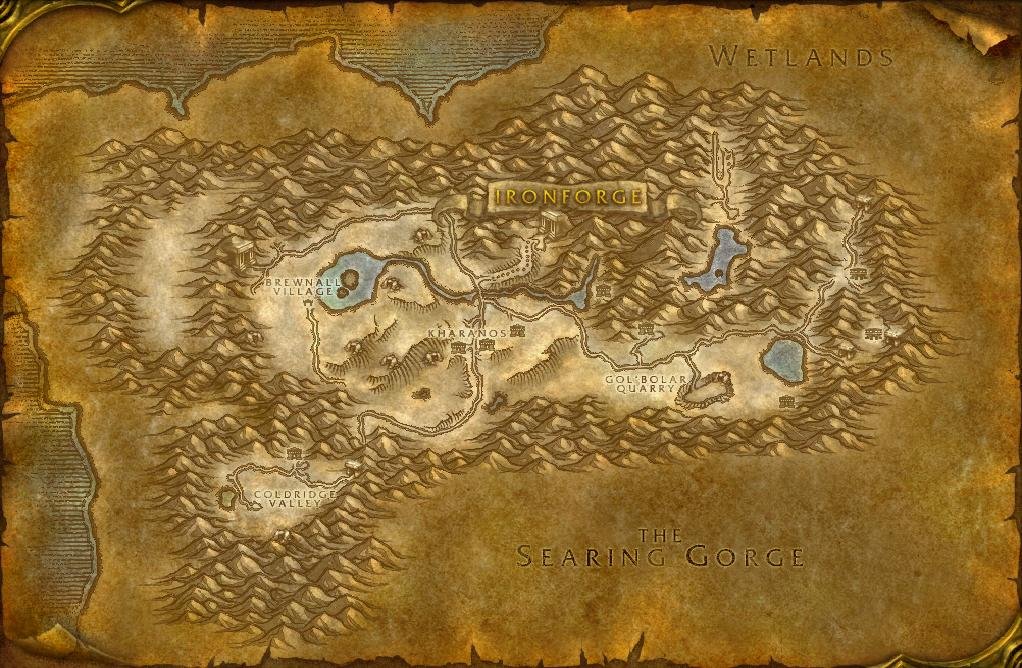
Dun Morogh
Starts: Dwarf, Gnome
Leave Coldridge with the starter valley finished, treat the Frostmane caves as separate returns, and group before Vagash or Mangeclaw.
-
 Your routeAnnotated safety map
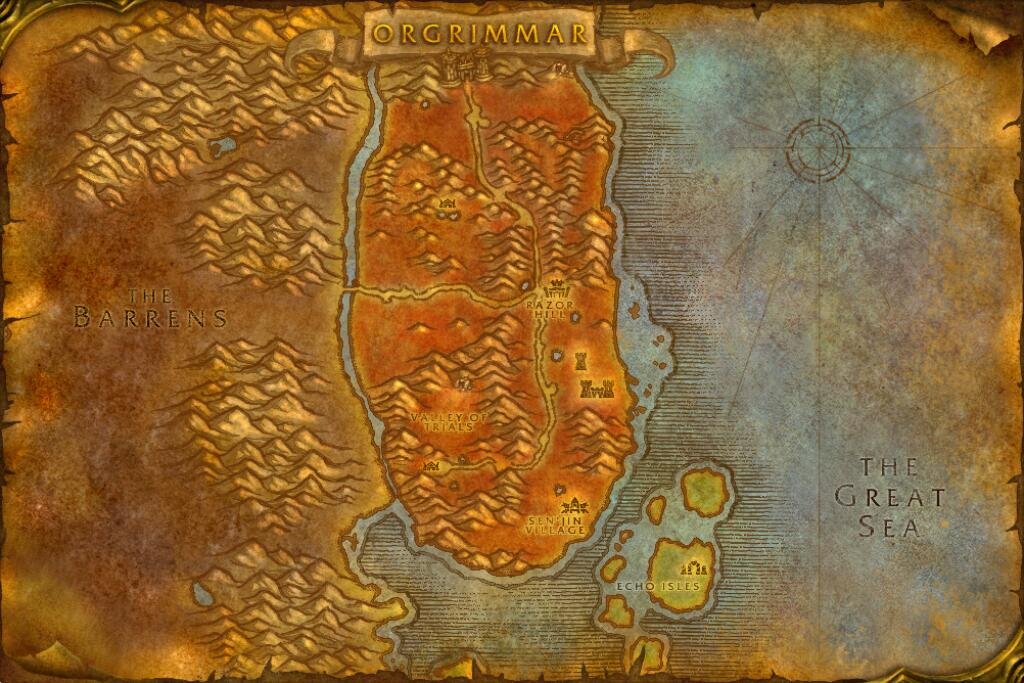
Durotar
Starts: Orc, Troll
Finish the Valley before Razor Hill, split the Echo Isles from Tiragarde Keep, and leave Dark Storms and Skull Rock for a prepared return.
-
 Your routeAnnotated safety map
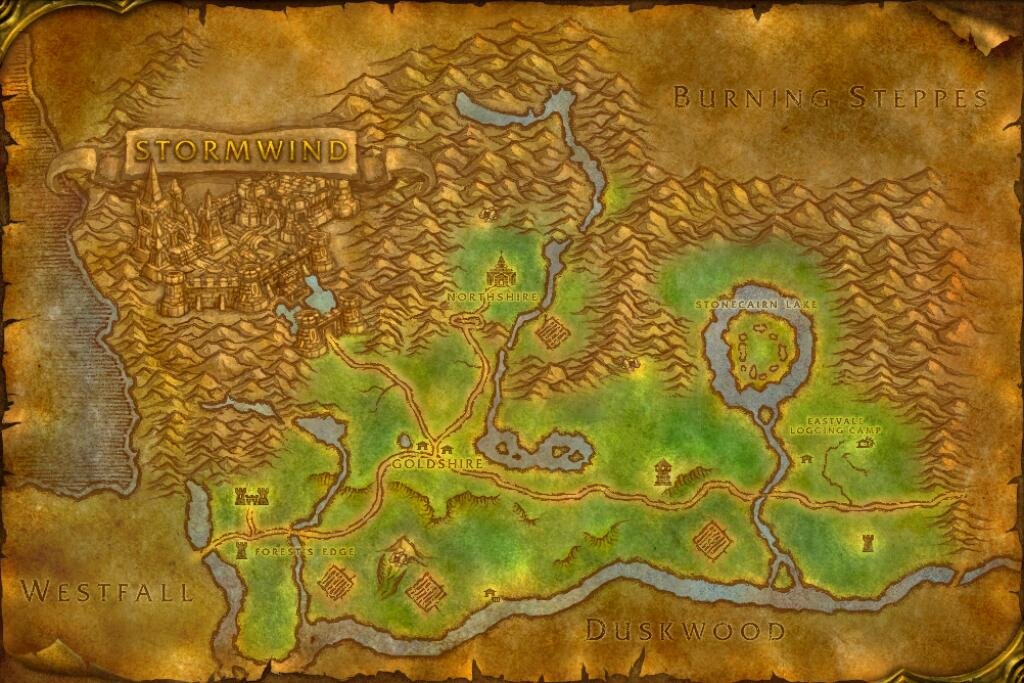
Elwynn Forest
Starts: Human
Finish Northshire before Goldshire, treat each mine as its own trip, and bring a group for the Brackwell names and Hogger.
-
 Your routeAnnotated safety map
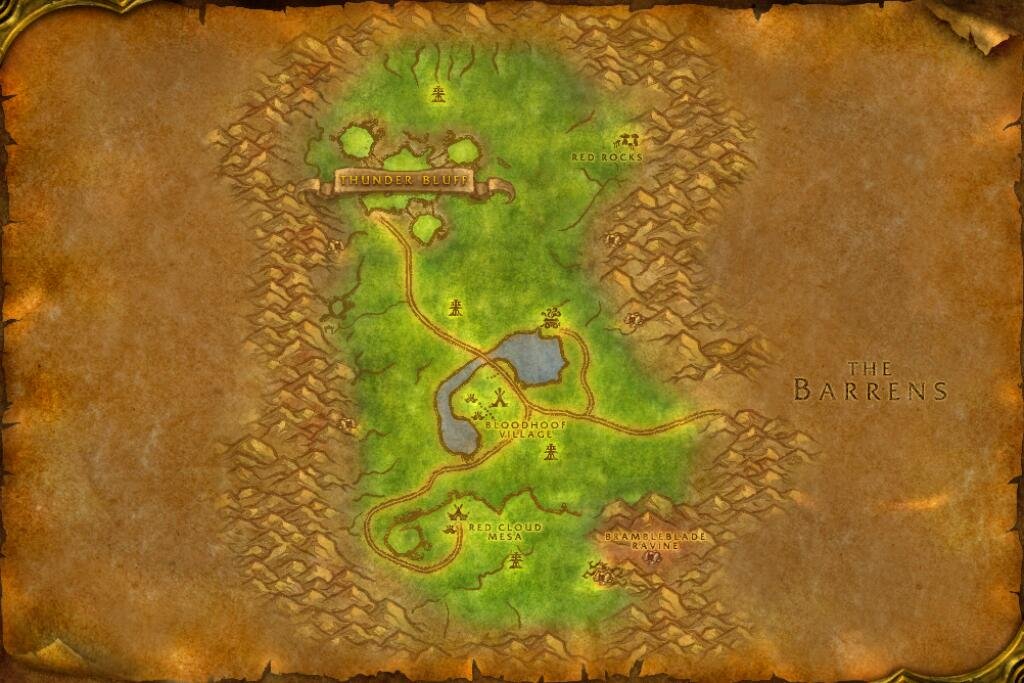
Mulgore
Starts: Tauren
Finish Red Cloud Mesa before Bloodhoof, keep the Palemane and Venture Co. caves optional, and bring help for Fizsprocket and Arra'chea.
-
 Your routeAnnotated safety map
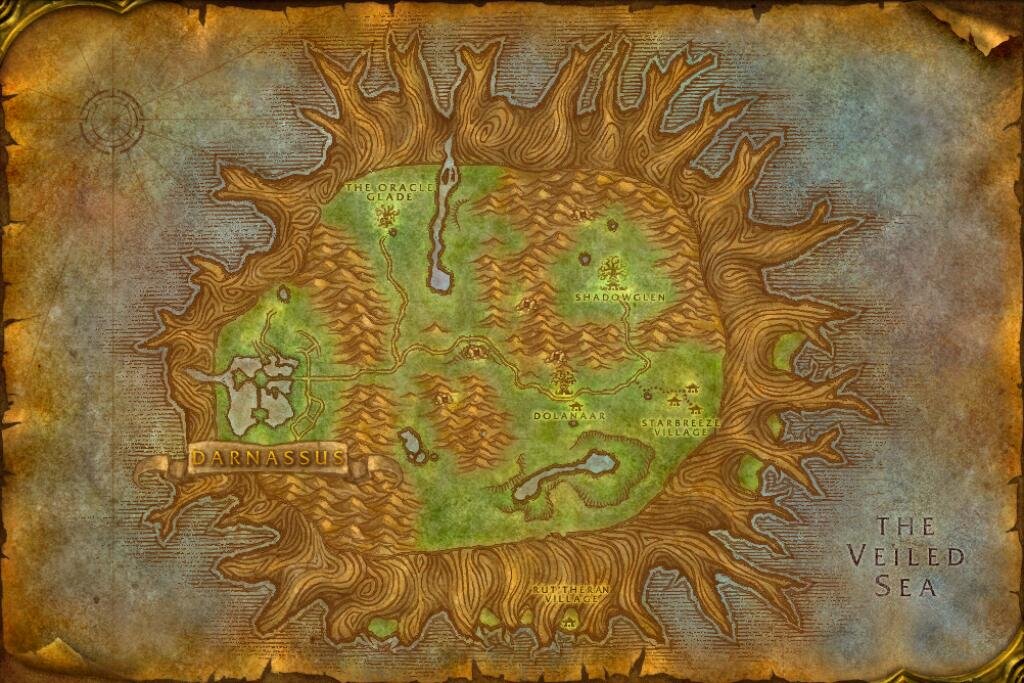
Teldrassil
Starts: Night Elf
Leave Shadowglen with the spider cave finished or skipped, keep Fel Rock and Ban'ethil separate, and clear Mist's return before accepting the timer.
-
 Your routeAnnotated safety map
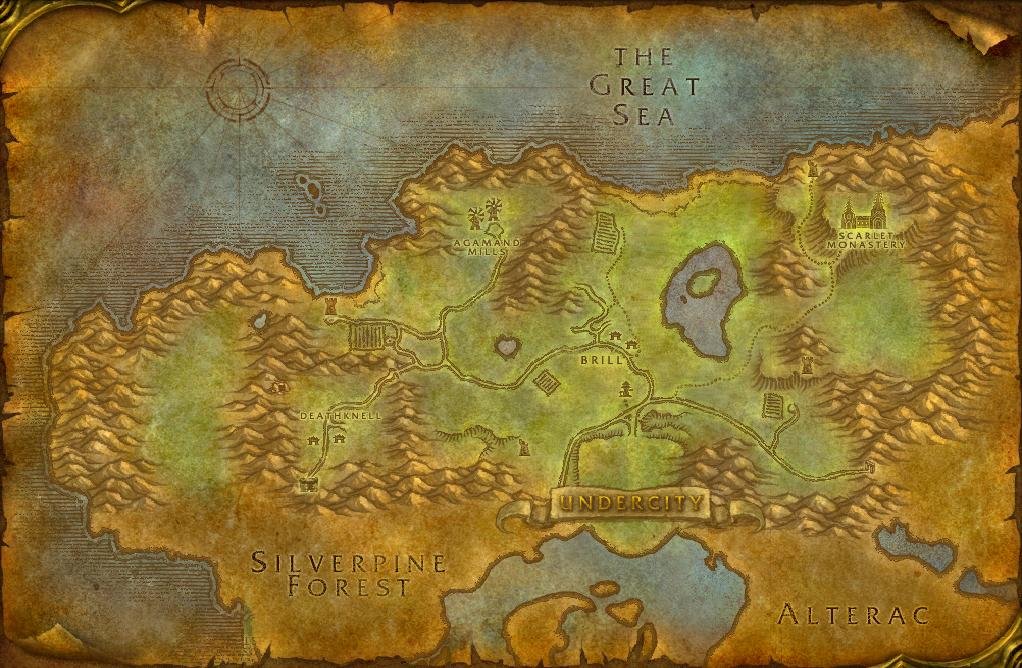
Tirisfal Glades
Starts: Undead
Finish Deathknell before Brill, split the Scarlet towers from the Agamand Mills, and leave the Family Crypt for a prepared group.
Early zones, levels 10–25
The first step outside the starting zone brings longer returns, runners, escorts, and camps that punish a late reset.
-
 Your routeAnnotated safety map
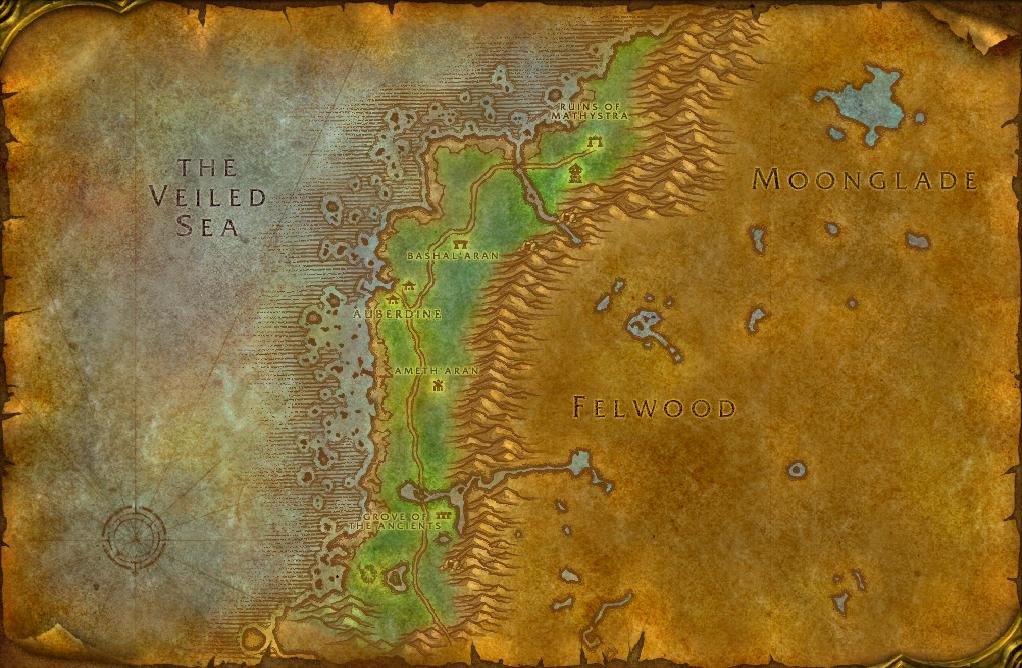
Darkshore
Use Auberdine as the reset point, split the northern wreck, cave, and furbolg work into separate trips, and bring help for the southern events and escorts.
-
 Your routeAnnotated safety map
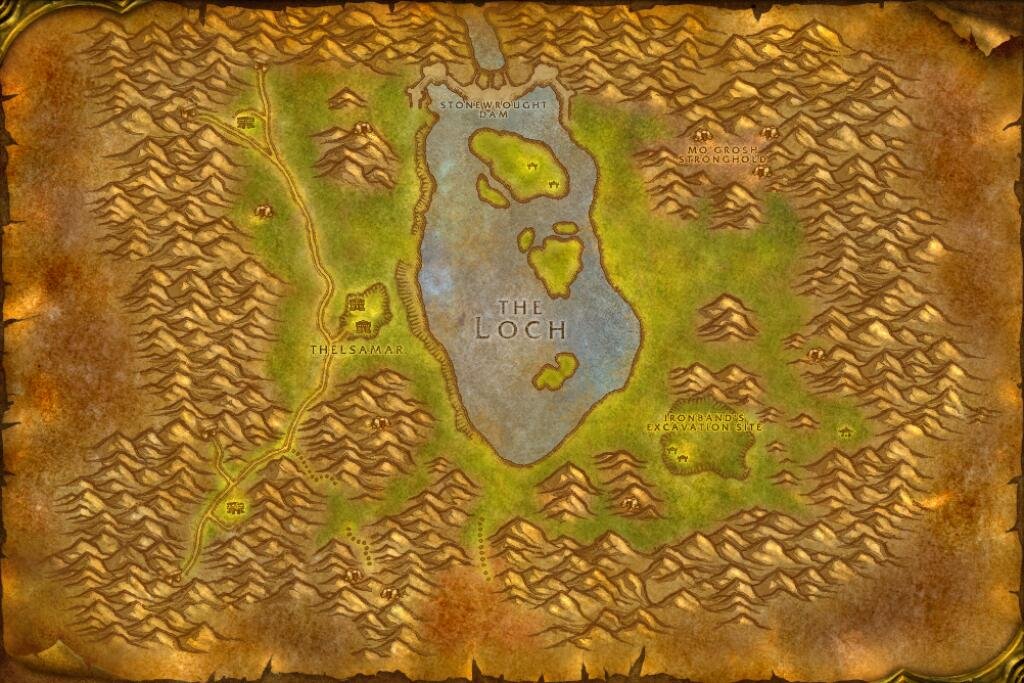
Loch Modan
Use Thelsamar as the reset point, split the trogg, mine, dam, and eastern-shore work into separate trips, and leave Mo'grosh for a prepared group.
-
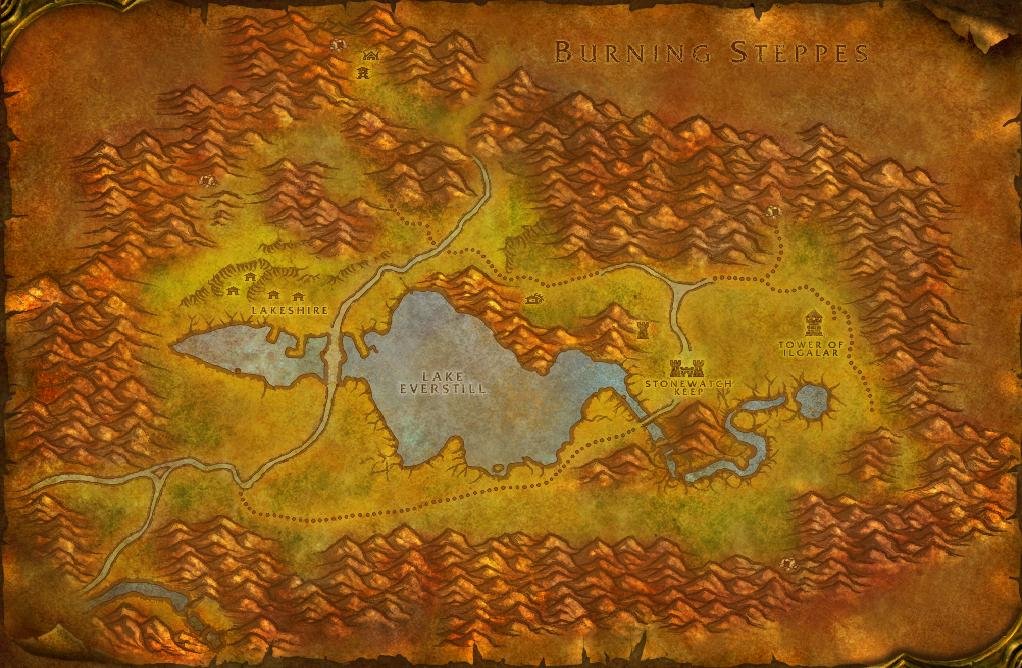 Your routeAnnotated safety map
Redridge Mountains
Use Lakeshire as the reset point, finish the lake and outer camps as separate trips, and leave the northern cave and Stonewatch layer for a prepared group.
-
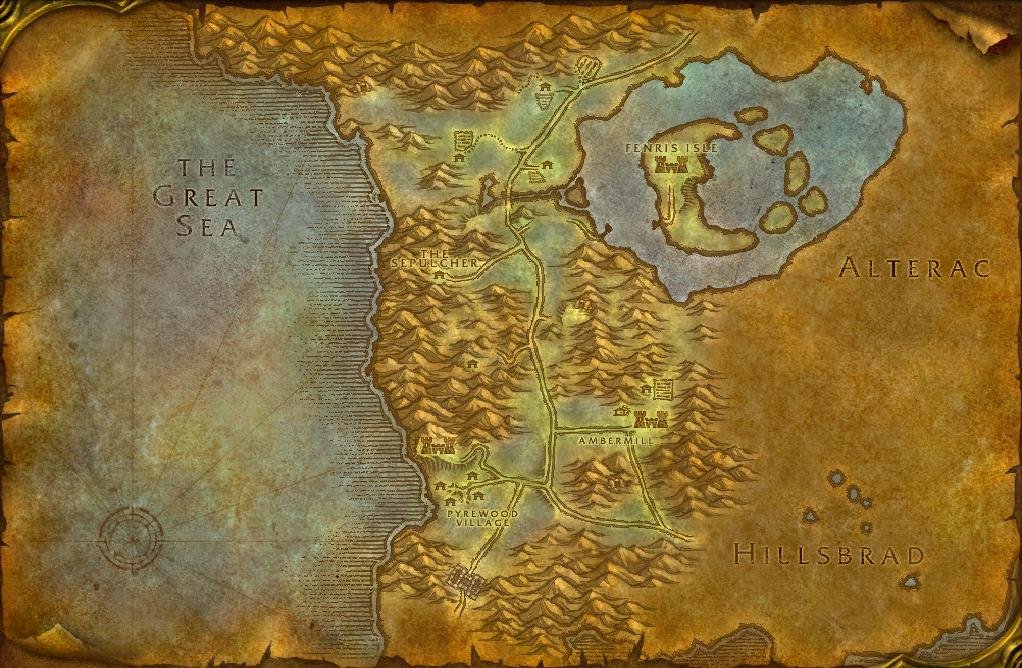 Your routeAnnotated safety map
Silverpine Forest
Use the Sepulcher as the reset point, finish the early north as short returns, and treat Ambermill, Pyrewood, and Fenris Isle as deliberate later trips.
-
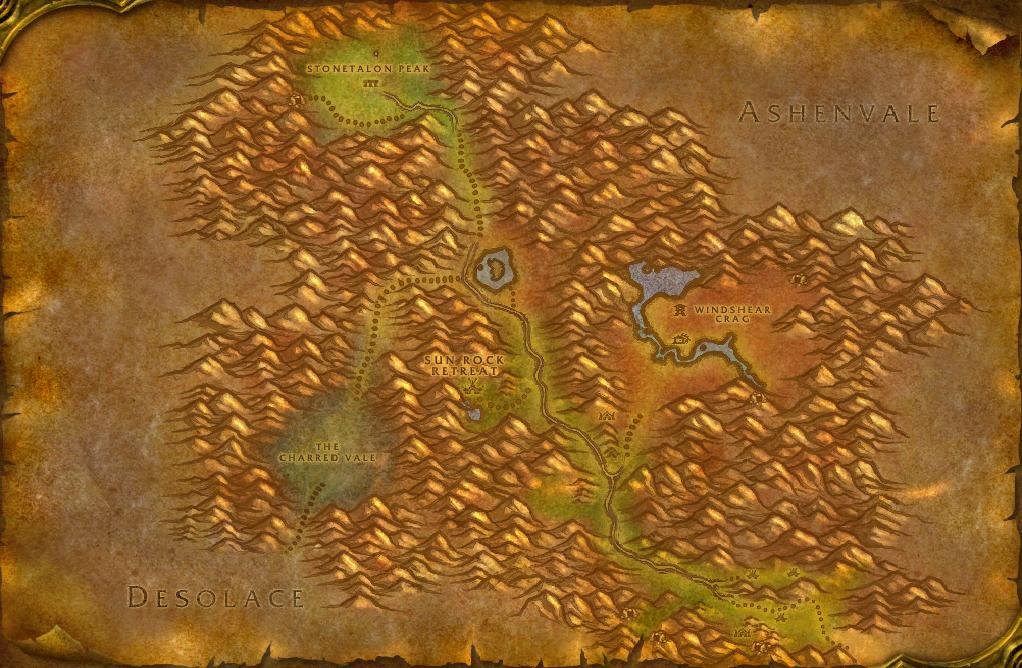 Your routeAnnotated safety map
Stonetalon Mountains
Keep the shared, Horde, and Alliance trips separate, use the main road as the reset, skip the mine defense, and leave elite spiders and cave summons for a prepared group or later pass.
-
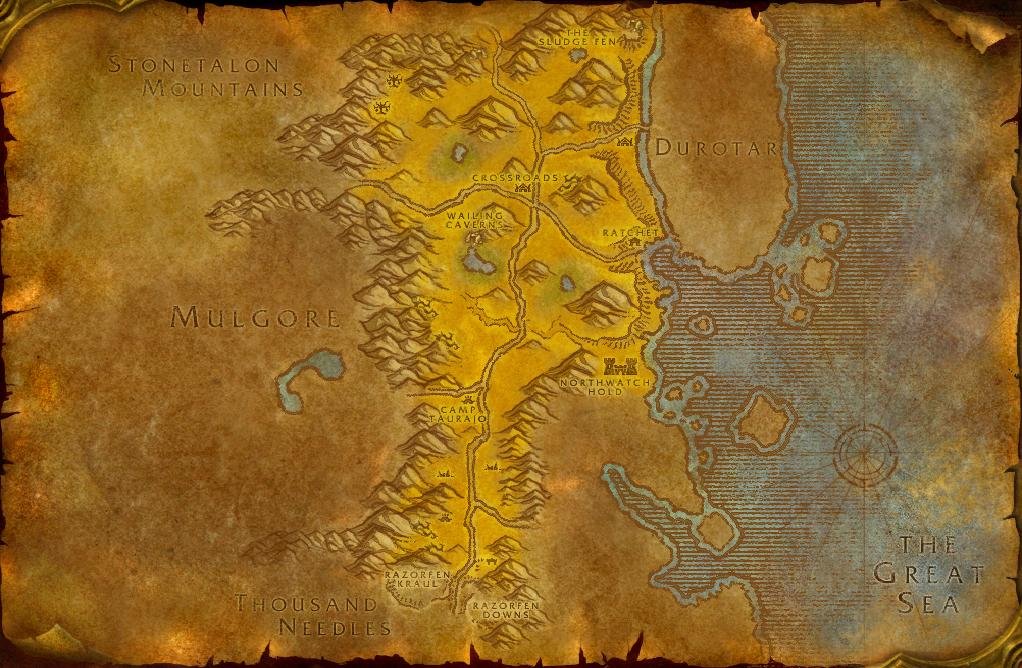 Your routeAnnotated safety map
The Barrens
Anchor at the Crossroads, split long chains into short loops, and leave Northwatch escorts for a prepared group.
-
 Your routeAnnotated safety map
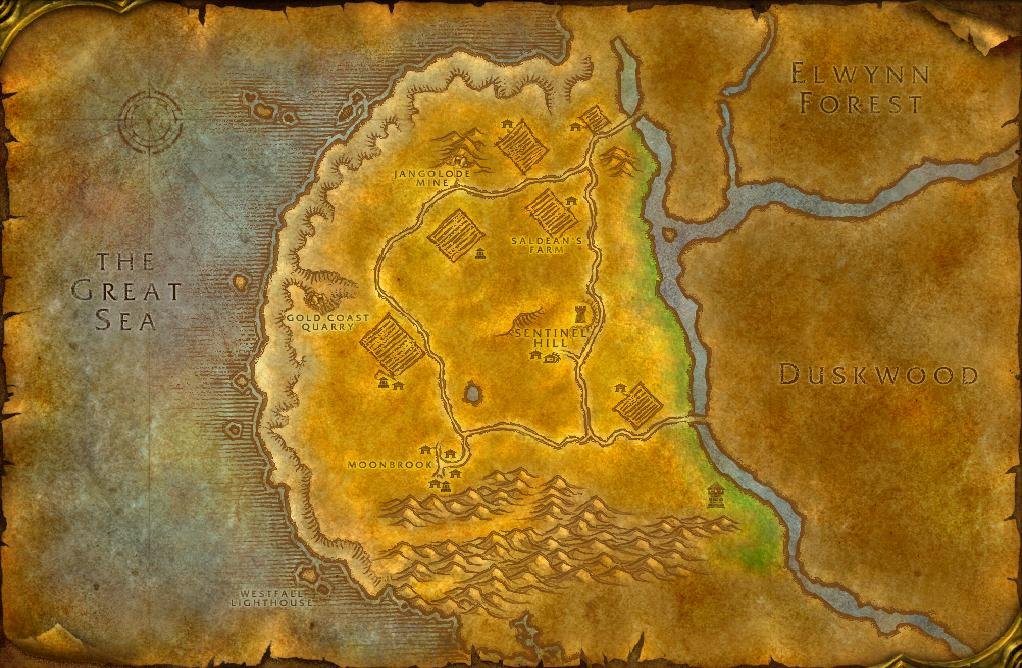
Westfall
Use Sentinel Hill as the reset point, clear each farm or Defias pocket as its own trip, and leave the coast and Moonbrook until the pull has a clean exit.
Later quest safety maps
Annotated Classic maps for higher-level quest risk, failure states, and exit calls before the pull widens.
-
 Your routeAnnotated safety map
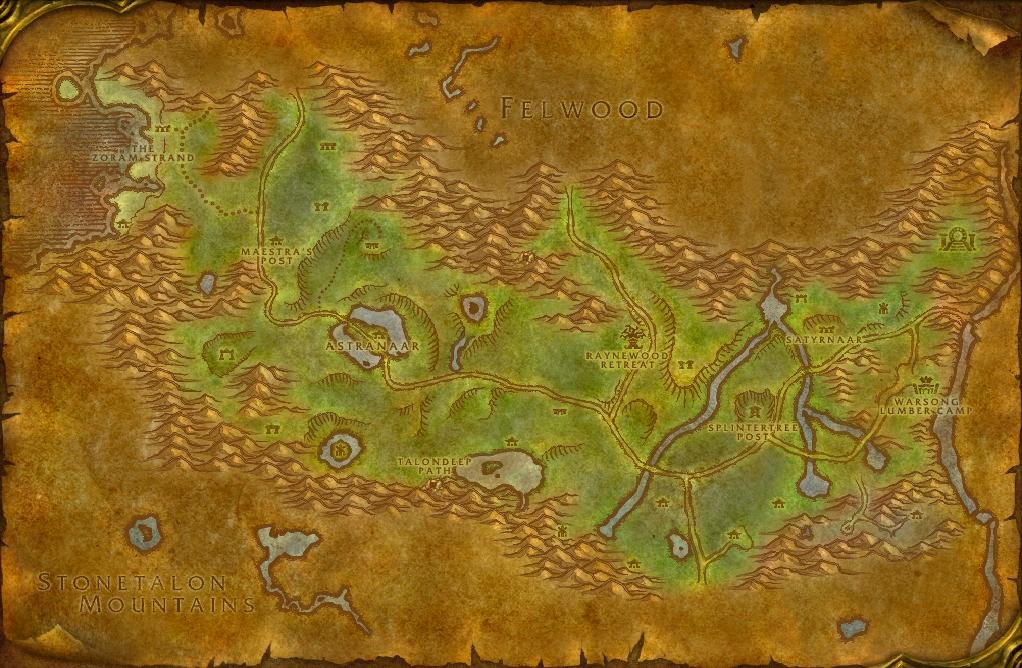
Ashenvale
Keep the Alliance and Horde trips separate, use Astranaar or Splintertree Post as the reset, and bring a group for the Horde escort and banner events.
-
 Your routeAnnotated safety map
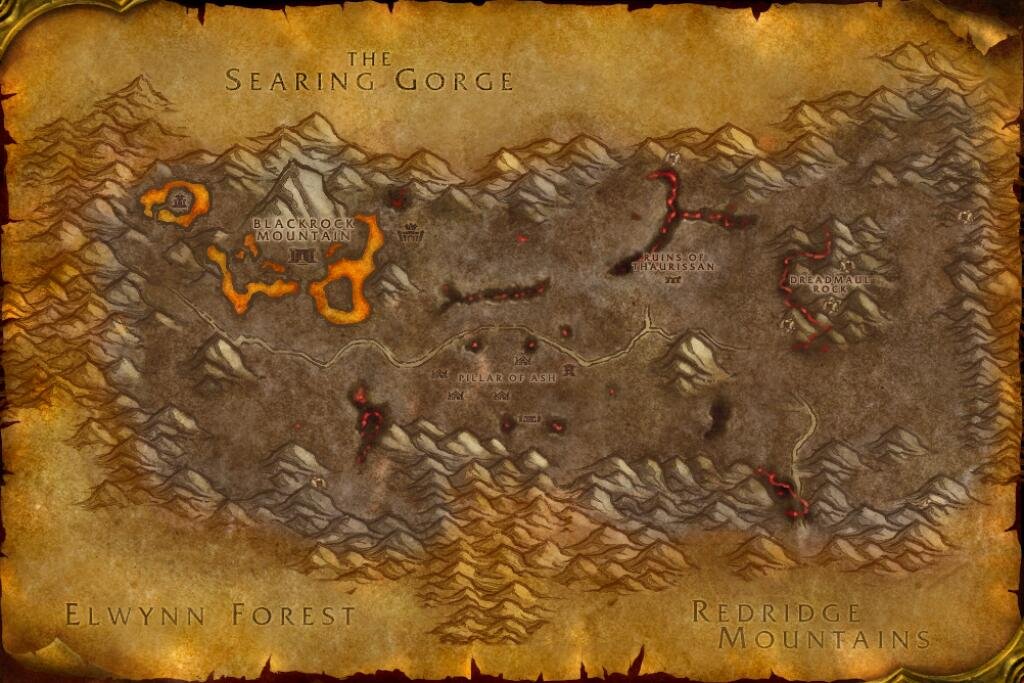
Burning Steppes
Morgan's Vigil and Flame Crest are the only resets. Everything north and east of the road is Blackrock orc, Firegut ogre, or black dragonflight ground.
-
 Your routeAnnotated safety map
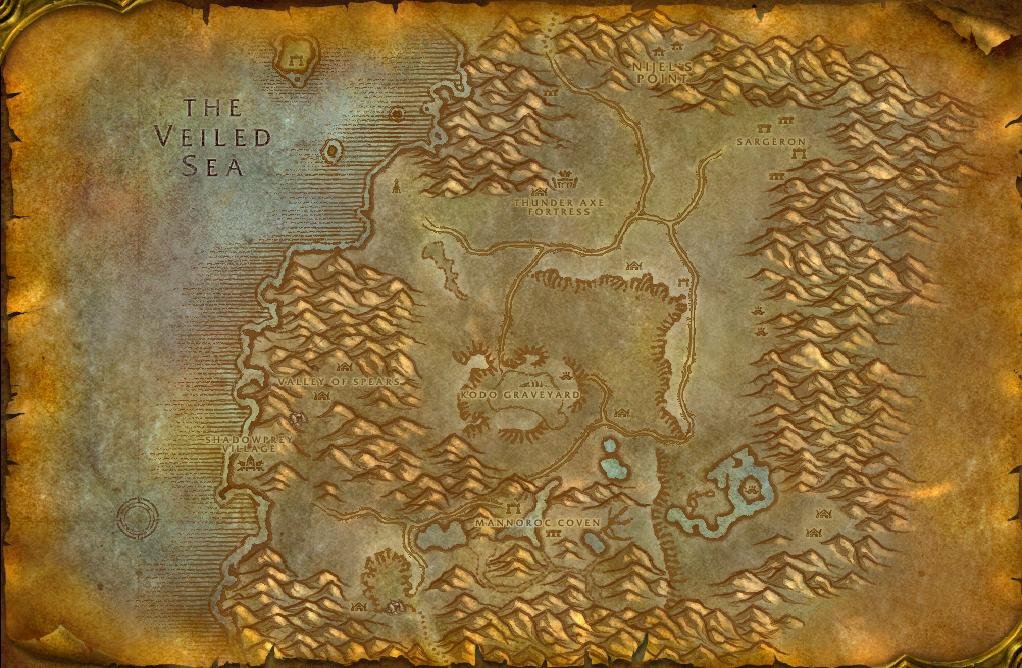
Desolace
Desolace has long runs between scattered camps, so a broken pull can leave the character far from help or a quick reset.
-
 Your routeAnnotated safety map
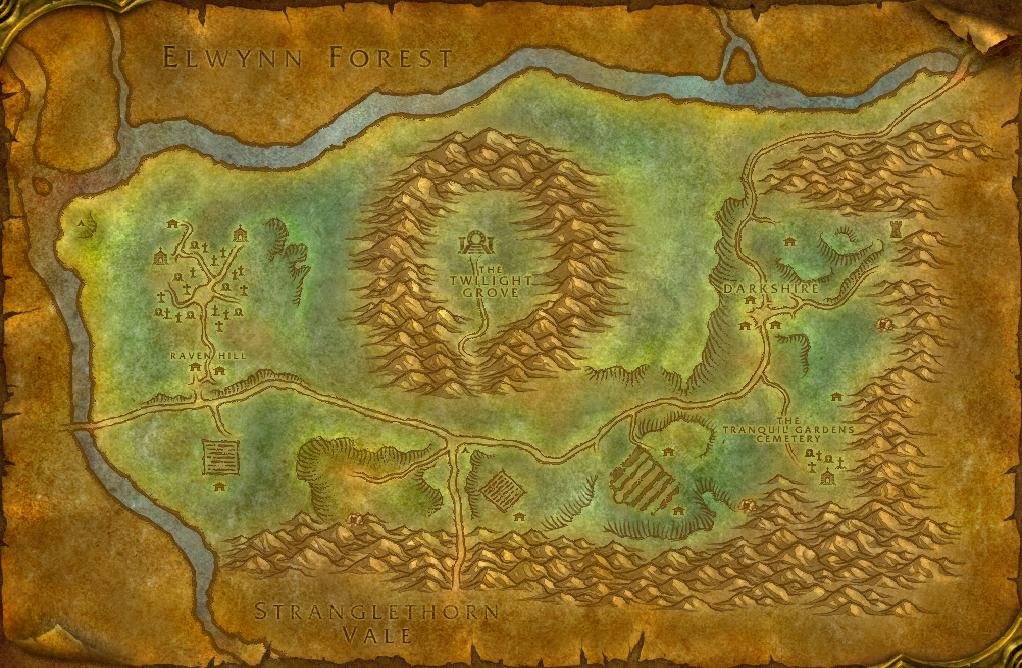
Duskwood
Quest from Darkshire outward, check the road for Stitches, and pull Worgen caves back toward the entrance.
-
 Your routeAnnotated safety map
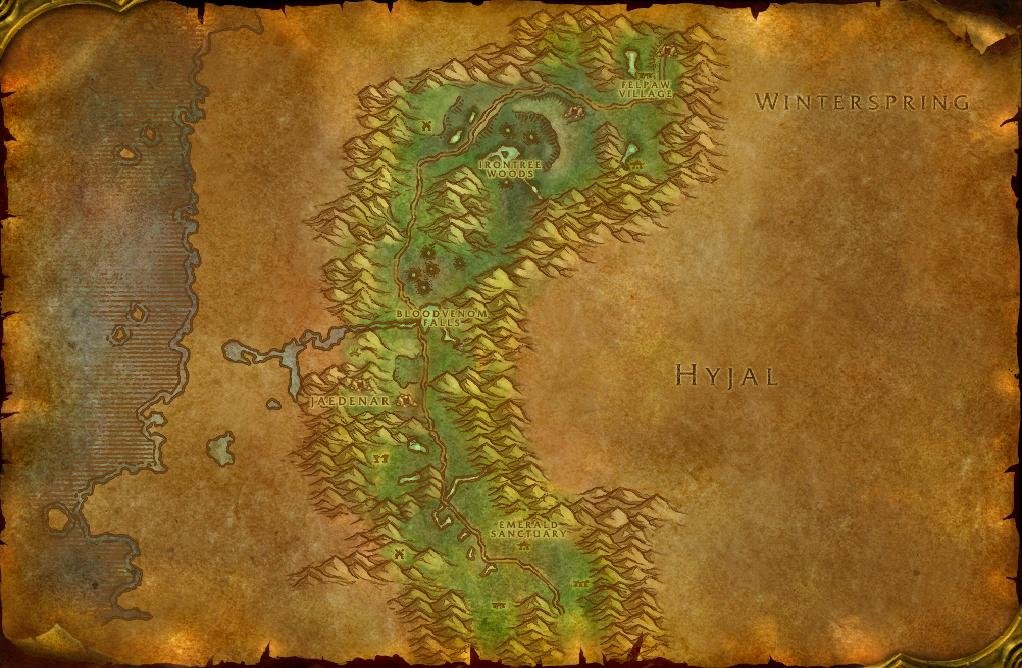
Felwood
Use the main road as the spine and enter Jaedenar, Shadow Hold, and the Jadefire ground on purpose. Corrupted ancients read as scenery until they move.
-
 Your routeAnnotated safety map
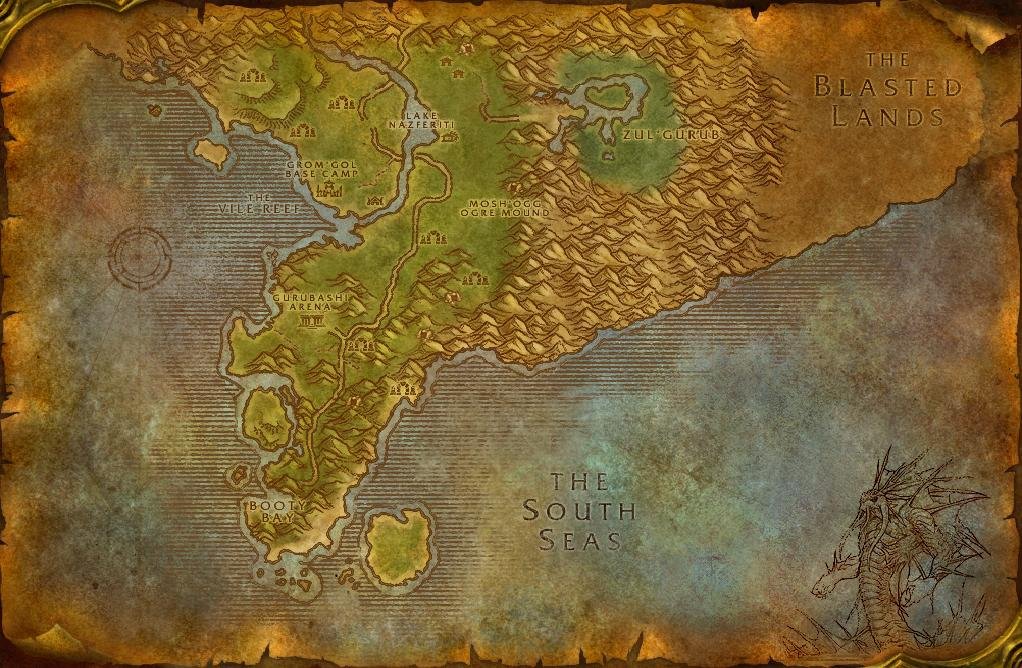
Stranglethorn Vale
Open in the north, move south after 37, and return north for the 40-plus finales. Dense camps, stealth panthers, and troll healers make the long chain unsafe to rush.
-
 Your routeAnnotated safety map
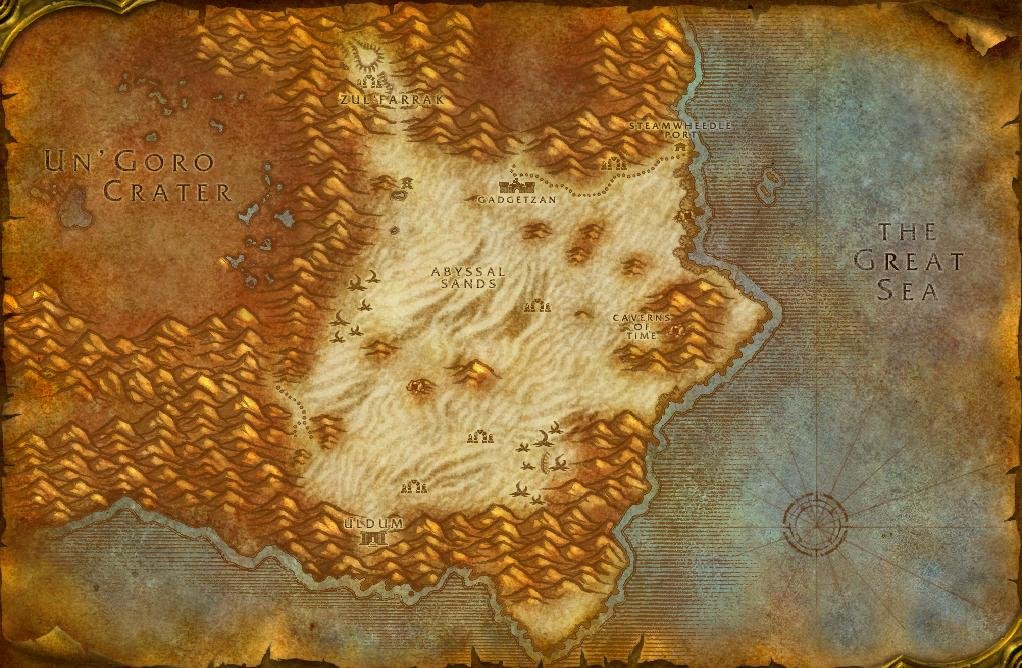
Tanaris
Use open terrain for Wastewander and pirate camps. Roots, respawns, and Silithid tunnels remove the exit from a pull.
-
 Your routeAnnotated safety map
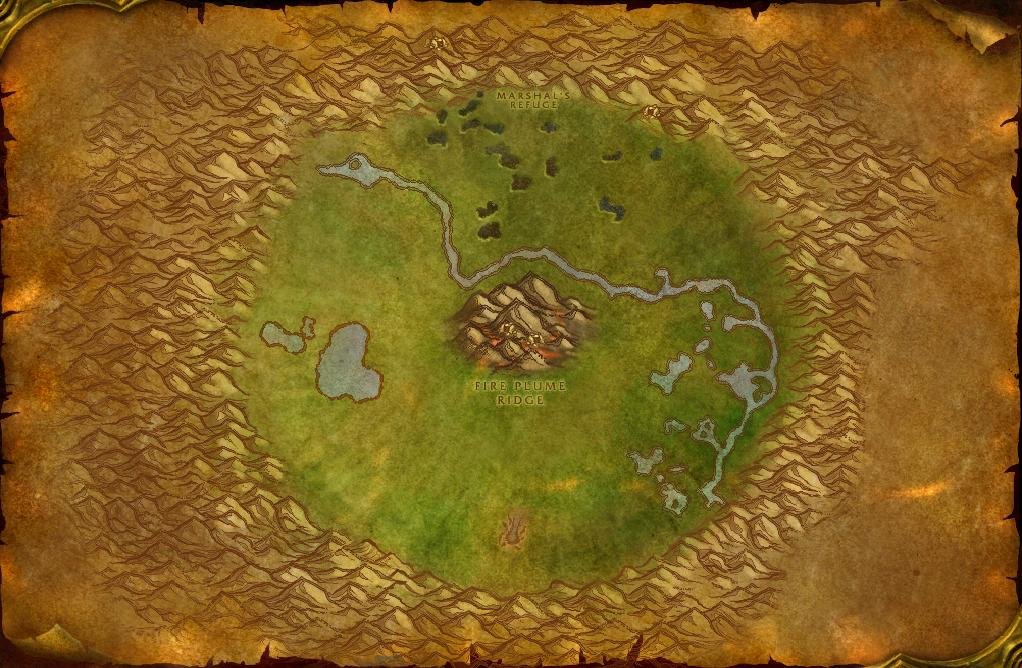
Un'Goro Crater
Marshal's Refuge is the only reset in the crater. Devilsaurs walk the open floor, so the danger here is the ground between objectives rather than the objectives themselves.
-
 Your routeAnnotated safety map
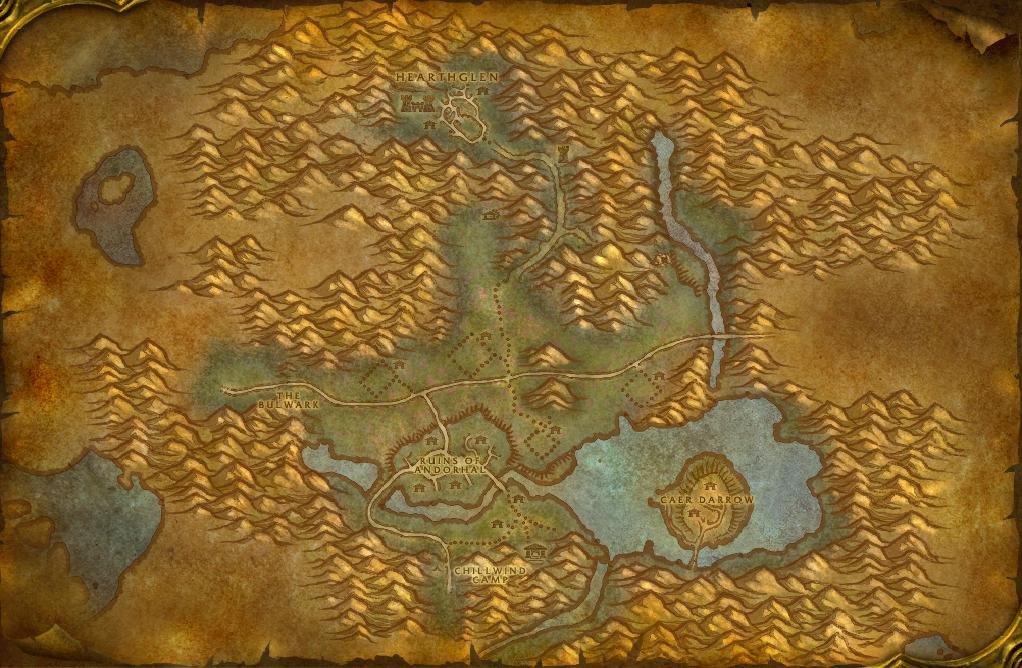
Western Plaguelands
Work the cauldron chain west to east and keep Chillwind Camp or the Bulwark as the reset. Andorhal refills faster than one quest loop takes.
-
 Your routeAnnotated safety map
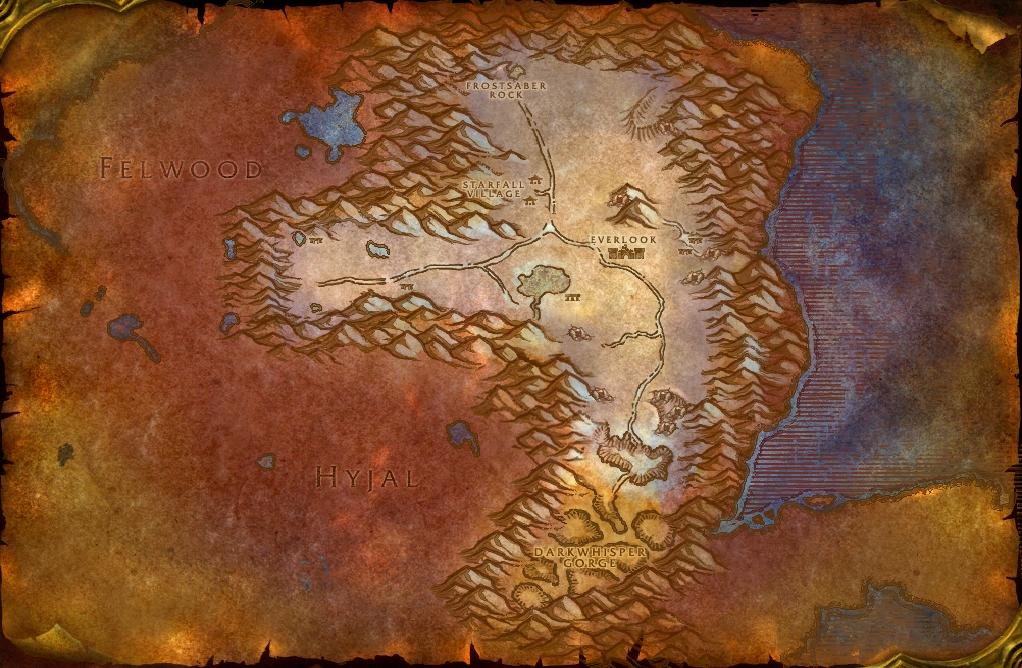
Winterspring
Everlook is the only real reset. Work the Winterfall ground south of it and treat Mazthoril, the Frostmaul flats, and Darkwhisper Gorge as places the route stops.