Warrior depends on a current weapon, controlled single targets, and an exit lane cleared before the fight begins.
DPS
TANK
Warrior has little room to hide a weak weapon or a careless pull. Clear the ground behind you, bring one target into that space, and begin leaving before the health bar forces the decision.
Paladin keeps Blessings active and heals after an add reaches the Warrior, allowing the pair to recover without ending the route.
Before the route
Class essentials
Set the core loop, gear priorities, and support tools before choosing the next route.
Leveling approach
Fight single targets, especially below 30, and pull them backward through ground you already cleared. Use Charge only when the landing area is safe, keep Rend active, and use Overpower after a dodge creates the opening. Bandage after combat, carry a bow or gun for ranged pulls, and choose a slow two-hander with strong top-end damage over a small pile of stats.
Stat priority
Professions
Pair Engineering with Mining when you want another way to separate a bad pull. Target Dummy can draw attention while you move, and Goblin Sapper Charge damages nearby enemies at the cost of some of your own health.
Use First Aid around two-thirds health and keep bandages stocked even when a healer joins the group.
Take Cooking through the rough early levels so health recovery between fights does not consume every purchased supply.
Alliance races
Gnome - Roots and nets can close the retreat lane before Warrior reaches the next target. Gnome can clear them with Escape Artist and keep moving.
Human - Human supports the two-handed route through extra sword and mace weapon skill, which applies from the first useful weapon onward.
Horde races
Orc - Choose Orc when the route already favors axes. Use Blood Fury early in a controlled fight, and remember that Hardiness improves the chance to resist a stun instead of guaranteeing it.
Troll - Troll can use Berserking when a difficult pull needs to end quickly, and Regeneration continues during the recovery that follows.
Your leveling journey
Warrior guide path
Move from the first map to the next unlock and group preparation without losing the route.
Fight single targets and favor green quests while the early kit is small. Buy a meaningful weapon upgrade when the route stops providing one, since every extra second in melee costs health.
Levels 12–23Overpower and ranged pulls
Use Overpower whenever a dodge opens it, and keep a bow or gun ready to separate targets before charging. A Deadmines run around 18 to 20 can provide a weapon upgrade. Bandage before starting the next fight.
Levels 24–39Whirlwind Axe
Plan the Whirlwind Axe quest around level 30 and bring a Paladin or a group with healing for the difficult parts. Stay on yellow quests and treat the new weapon as room for safer pulls rather than permission to add another mob.
Mortal Strike and plate arrive at 40, improving both damage and durability. In dungeons, mark the controlled target before every pull and take useful weapon upgrades when they appear.
Use Protection for regular dungeon tanking. Outdoor fights take longer, so plan the route around groups, quests, and the weapon upgrades found inside them.
Shield Slam at 40 costs 20 rage and creates strong threat. Use it on the target the group needs to hold in place.
Carry a current shield and one-handed weapon before offering to tank. The specialization cannot repair missing equipment after the pull begins.
Warrior survives a bad pull by changing to a shield early, slowing the add, and leaving during Shield Wall.
When the pull turns
Hamstring the extra mob, peel away, and finish the first target.
When the health bar drops and the pull stays open, swap to a shield before beginning the retreat.
Retaliation and Shield Wall share a long cooldown and solve different problems. Stay in front of melee attackers and fight while Retaliation is active. Use Shield Wall when you need to survive the retreat.
Dungeon rules
Bring a current weapon before tanking so normal pulls stay short.
Name the Polymorph, Sap, or trap target before the pull.
If the healer is underleveled for the instance, leave the group.
When the healer hits half mana, stop before the next pull.
Leave now
Leave when a runner heads for the next camp.
Leave if Shield Wall is active and HP is still dropping hard.
Leave when an add lands and no cooldown is ready to peel it.
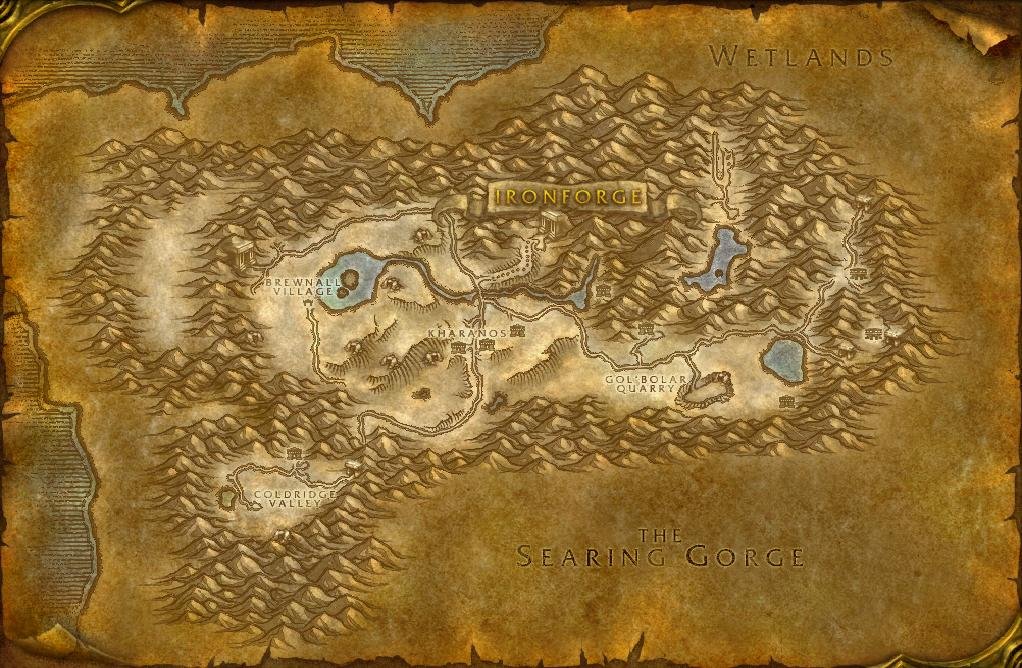
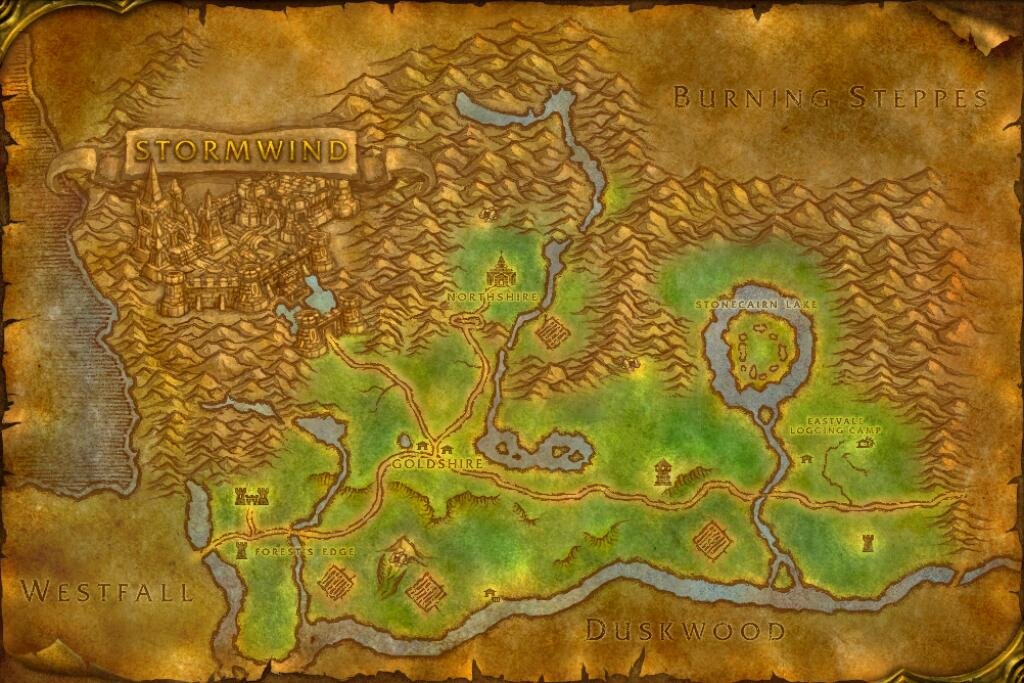
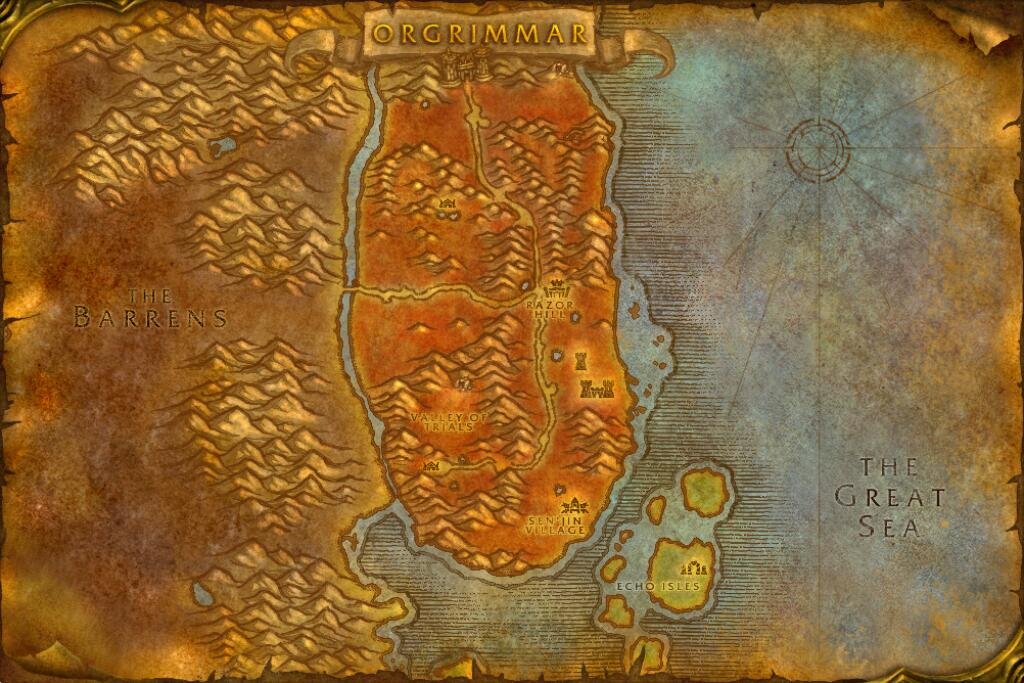
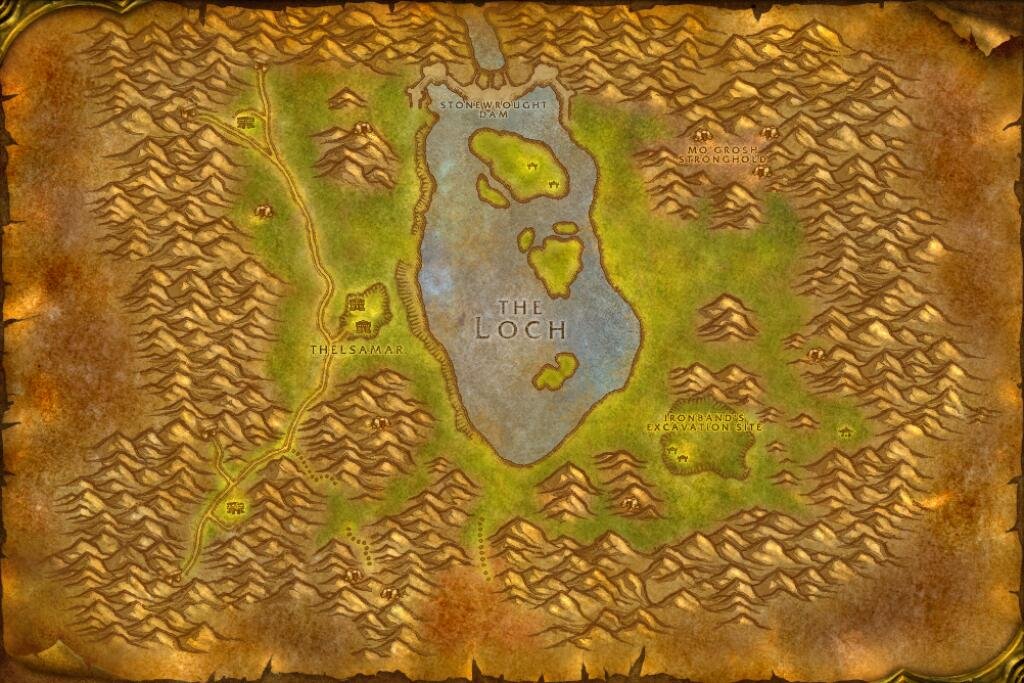
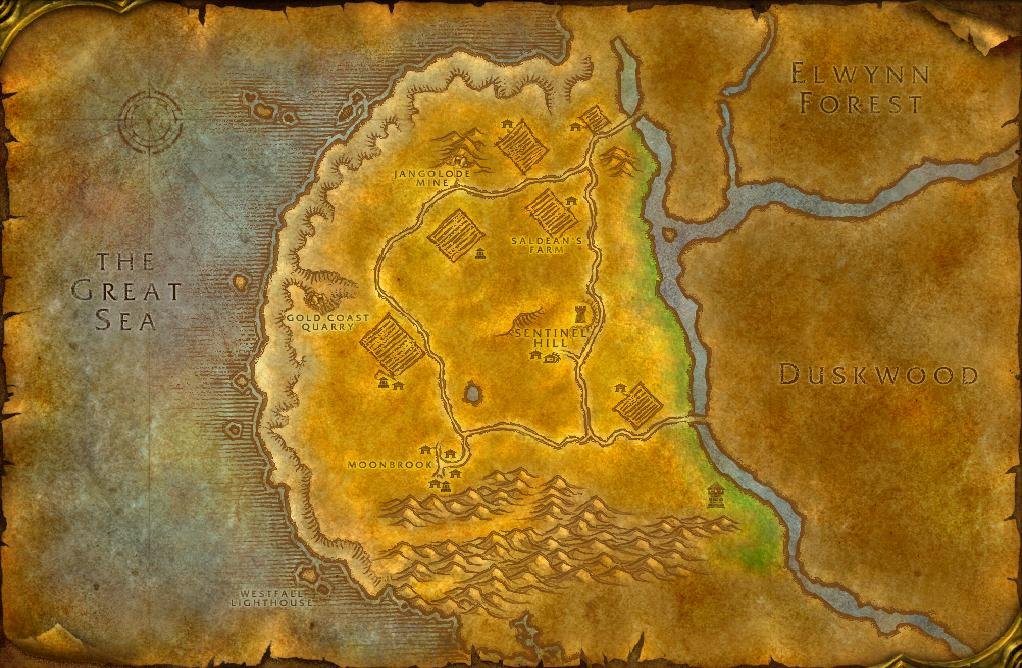
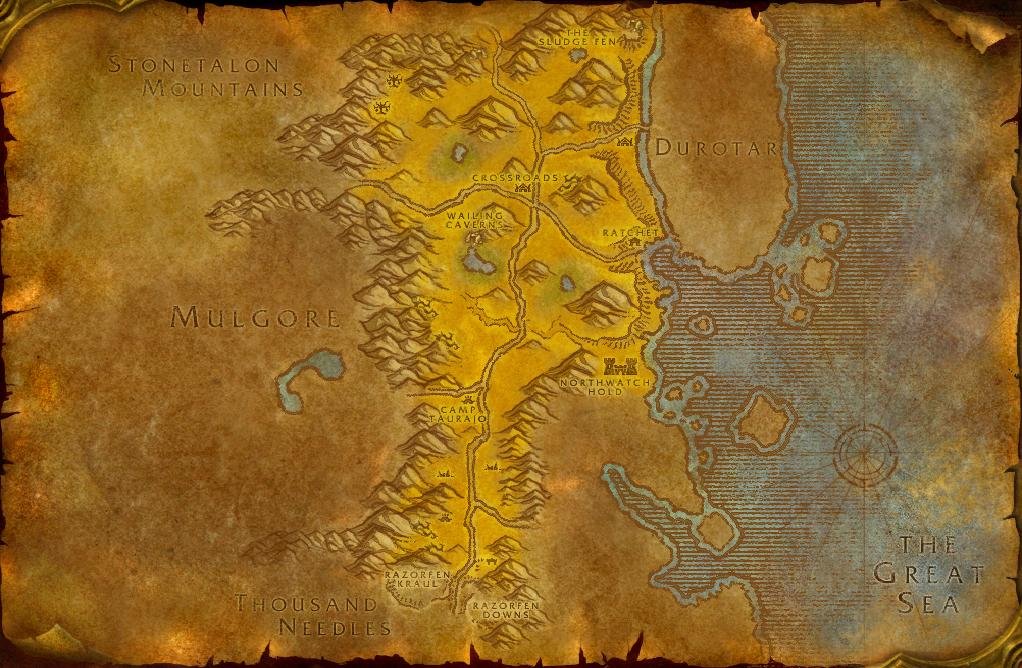
Starting maps for the race picks above
Open the map for your character before the first cave, named target, or dense camp.


 Alliance races


 Horde races


 Hamstring
 Retaliation
 Shield Wall